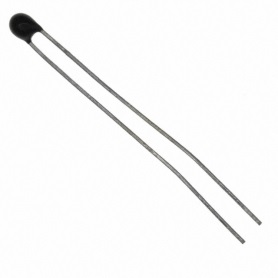
Introduction: The Thermistor is a resistor type that varies your resistance according to your temperature. Composed, generally, of polymers or ceramic, they have a relatively short operational range (−90 °C ~ 130 °C), but they’re also have a good precision and good price.
Through a First-order approximation, we can draw a linear relationship between the thermal and resistive variation:
Where:
ΔR = Resistive Variation;
ΔT = Thermal Variation;
k = First Order approximation coefficient (T or R).
In practical terms, the approximation above only works in a small operational range. Therefore, we use a more precise approximation, known as "Steinhart−Hart Equation". This Third order approximation is described by:
Where:
R = Resistance in Ohms;
ΔT = Temperature in Kelvin;
a, b and c = Steinhart−Hart parameters (normally found on the NTC datasheet).
To the following experience, we are going to use a simplifed version of this equation, using only one parameter (B) to convert the mV signal received by the Galileo’s ADC to degree Celsius (°C).
→ A NTC Thermistor (10K);
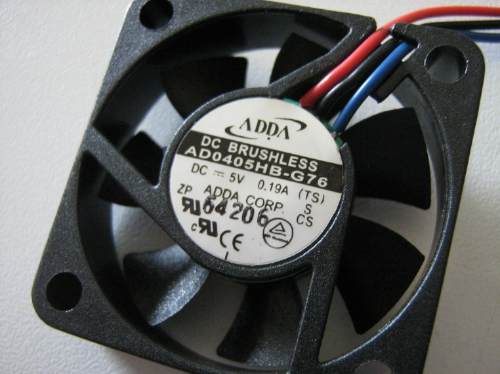
→ 5V Mini Cooler
→ A TIP120 NPN Transistor (or equivalent);
→ One 1N4007 Diode;
→ One 10k Ohm resistor;
→ One 3.3k Ohm resistor;
→ Protoboard;
→ Jumpers.
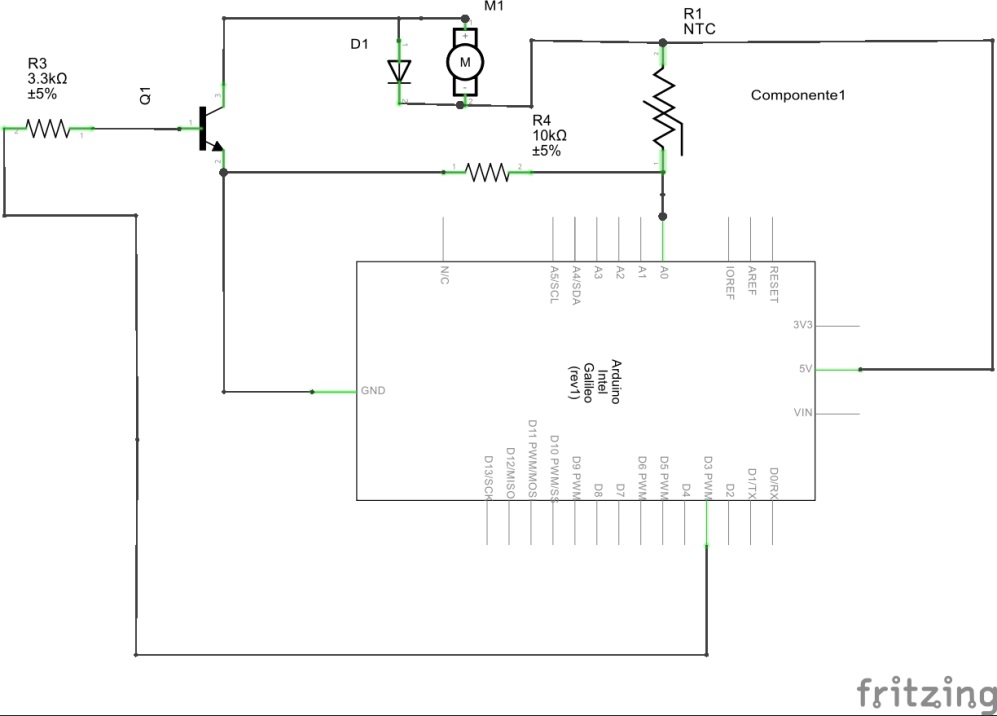
On a Protoboard, assemble the circuit below:
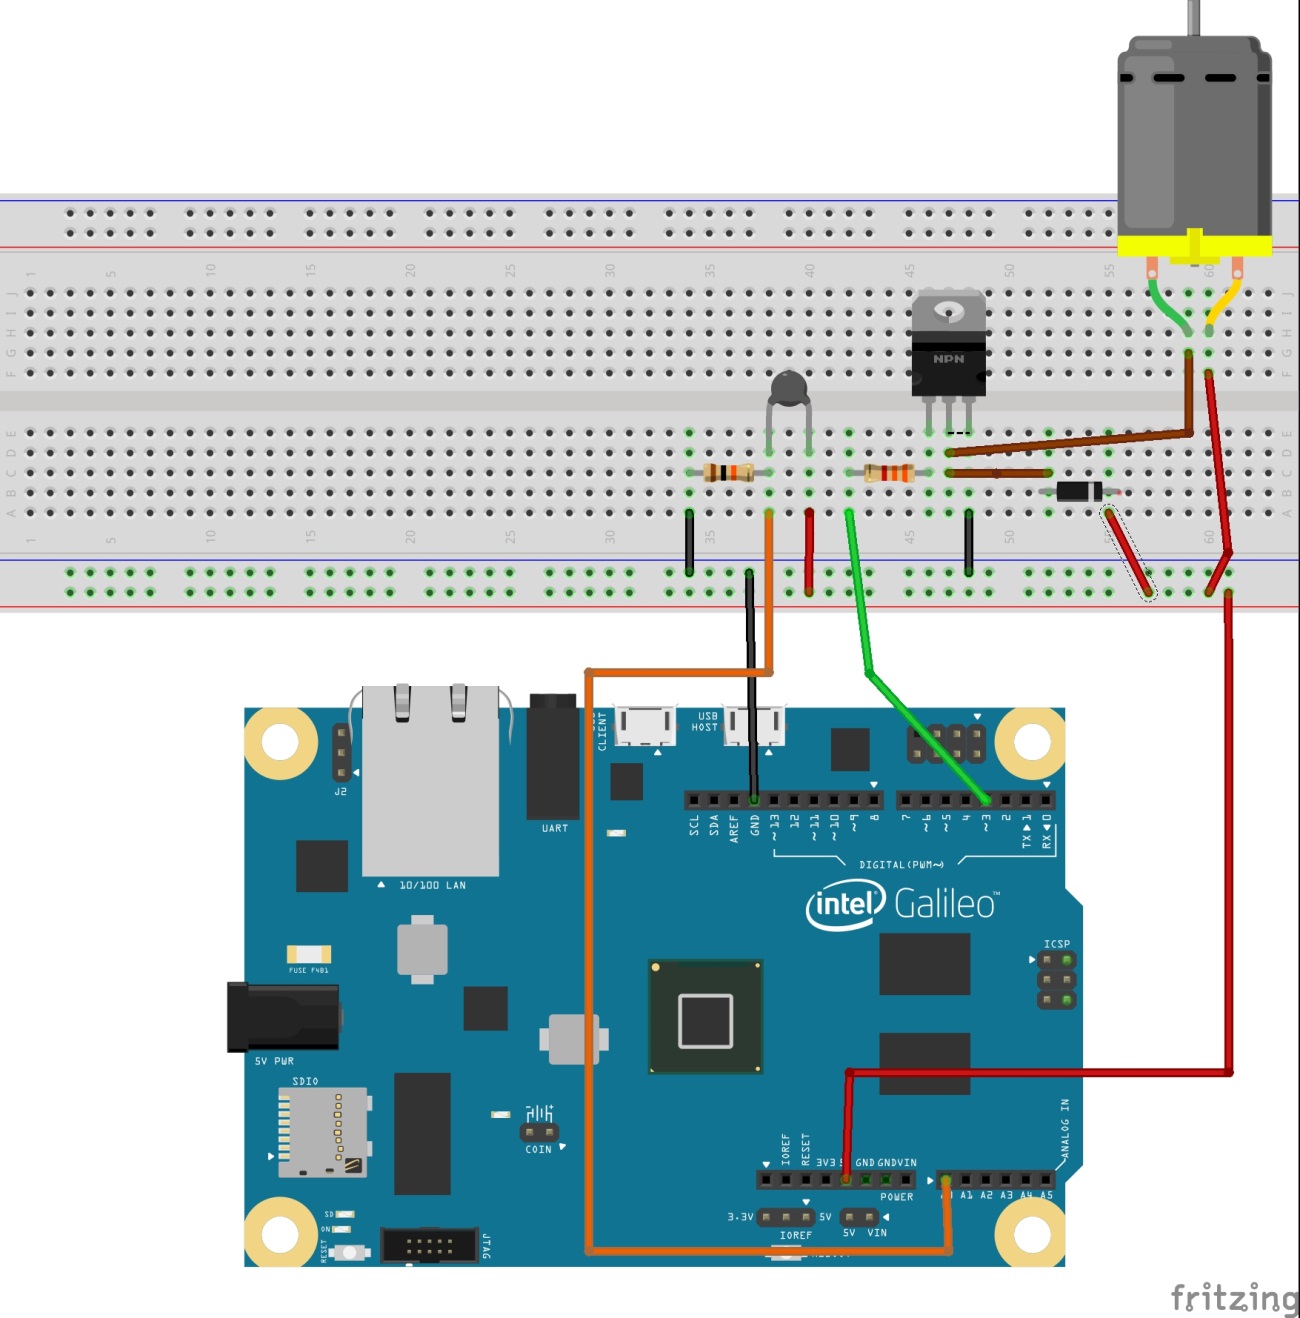
Where:
→ Red wires and black wires referes to VCC 5V and GND, respectively;
→ The orange wire connects the voltage through the internal resistance of the thermistor to an ADC (A0);
→ The Green Wire connects the signal (PWM or not) that will turn the motor on with the Galileo.
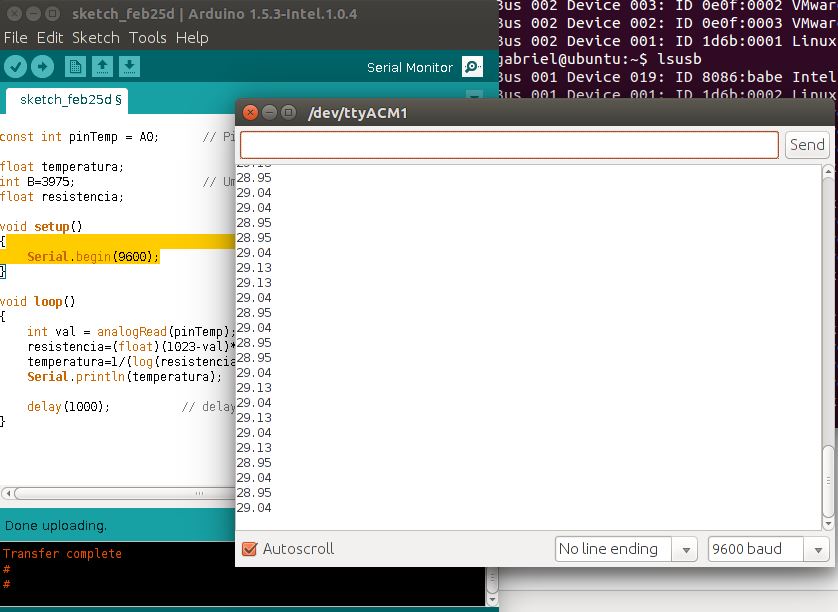
Upload the following code to Galileo, using the Arduino IDE or compiling directly from Linux terminal:
1. |
const int pinTemp = A0; // Temperature sensor pin |
Now, with the cooler towards the thermistor, we will make a temperature control switching the cooler on/off when the temperature read by the sensor is higher than a preset value (in the exemple, 30 °C). For an easily comprehension of this experience, you can approach the NTC sensor to a heat source (as an incandescent lamp, or ever touching the sensor with your fingers) to can get faster results. The code that makes this “On/Off” control is the following:
1. |
const int pinTemp = A0; // Temperature sensor pin |
Note: This type of control isn’t very efficient in industrial regimes. In these cases the control usually have proportional, integrative and derivative parameters. Albeit, for didactic purposes, this simple control serves us well.